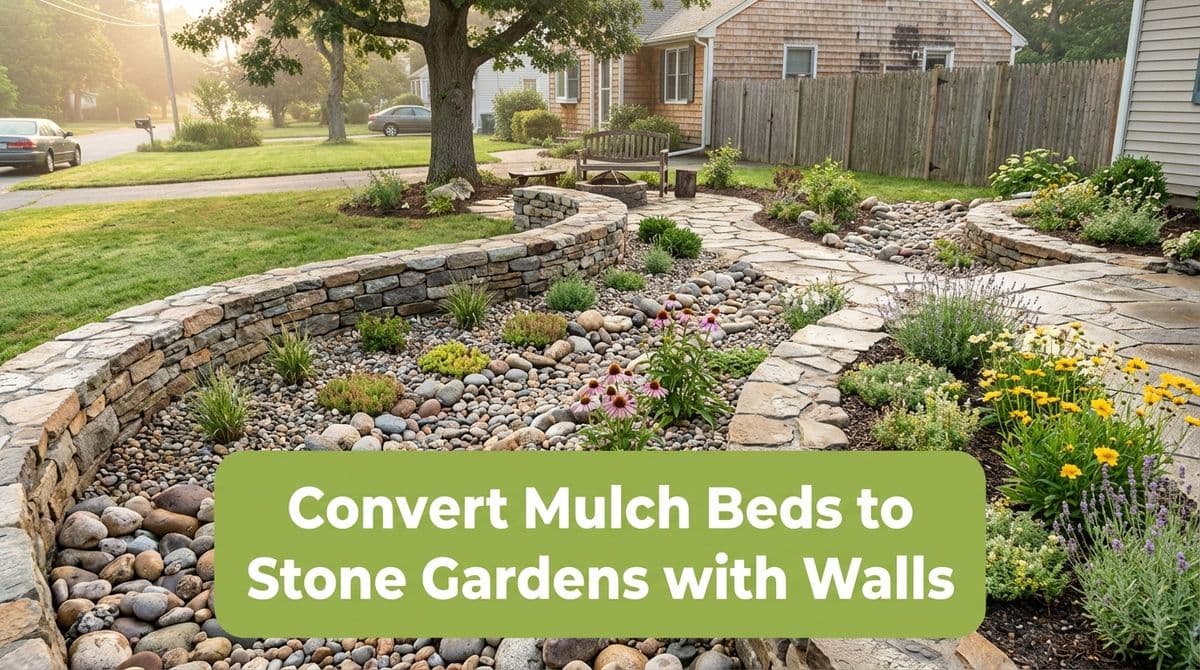
Tired of Mulch? Convert Beds to Stone Gardens with Walls
Tired of mulch beds turning into weedy messes? Learn how we convert overgrown mulch areas into clean, low‑maintenance stone garden beds with small retaining walls.
“I’m Done with Mulch” – Turning a Messy Bed into a Stone Garden
We recently got a call from a homeowner — let’s call him Kevin — who sounded both frustrated and determined. He told us, “I’m done with the mulch. I’m done with the mulch.” His backyard had a roughly 20' x 25' garden area with three small vegetable and flower beds, framed by old wood and cinder blocks, and buried under about eight inches of mulch.
Despite having weed block fabric underneath, grass and weeds were still poking through everywhere. Kevin and his wife wanted to get rid of one of the beds, keep two, and convert the whole area into a cleaner, low‑maintenance setup with stone garden beds and a small retaining wall in front.
We hear this story a lot. Mulch starts out looking great, but over time it breaks down, drifts, and becomes a magnet for weeds. So we walked Kevin through how we’d transition his tired mulch beds into neat stone garden beds with retaining walls — and that’s exactly what we’re going to share here.
Step 1: Evaluate Your Existing Mulch Bed Area
Before you touch a shovel, take a good look at what you’re working with. In Kevin’s case, he had:
- Three small garden sections (two to keep, one to remove)
- Old wood and cinder blocks acting as borders
- About 8" of mulch over weed fabric with grass growing through
We always start by helping homeowners answer a few key questions:
- What do you actually want to keep? (Plants, beds, paths?)
- Do you want raised beds, flat planting areas, or both?
- Is there a slope that might need a retaining wall?
For Kevin, the plan was to remove one bed, keep two as defined stone garden areas, and add a small retaining wall along the front to clean up the look and hold everything in place.
Step 2: Remove Old Mulch, Borders, and Weed Fabric
This is the least glamorous part, but it’s critical. If you skip it, weeds will haunt you later. Here’s how we typically approach it:
- Strip out the mulch: Shovel mulch into wheelbarrows and either compost it (if it’s clean) or dispose of it.
- Pull up weed fabric: Fabric that’s been down for years usually tears easily. We roll it up and remove as much as we can.
- Remove old wood and cinder blocks: Rotting timbers and mismatched blocks should go so the new stone layout is clean and stable.
Homeowners often ask us, “Can I just put stone over the mulch?” We strongly recommend against that. You want a firm, clean base for your stone and retaining wall, not a spongy layer of decomposed mulch under it.
Step 3: Shape the New Garden Beds and Retaining Wall
Once everything is cleared, we start shaping. With Kevin’s roughly 20' x 25' area, we:
- Outlined two stone garden beds where the healthiest plants would stay
- Eliminated the third bed to open up space and reduce maintenance
- Marked the line for a low retaining wall along the front edge
For many backyards, a small retaining wall (even 12–24 inches high) offers a few big benefits:
- Keeps soil and stone from washing into the lawn
- Creates a clean visual edge between lawn and garden
- Makes the beds look intentional and professionally built
We always use marking paint or a garden hose to curve out the lines before digging, so homeowners can “see” the new layout and make changes before anything is installed.
Step 4: Build a Solid Base for Your Retaining Wall
A retaining wall is only as good as the base underneath it. For most small garden walls, we follow a process like this:
- Dig a trench along your wall line, typically 6–8" deep and wider than your block.
- Add and compact base stone (like 3/4" crushed stone) in layers until you’re a couple of inches below grade.
- Set the first course of blocks perfectly level from front to back and side to side.
- Backfill and compact behind each row as you build the wall up.
We tell homeowners: the first row is the most important. If that row is straight and level, the rest of the wall goes smoothly and lasts much longer.
Step 5: Install Weed Barrier and Choose the Right Stone
Once the wall is in and the bed edges are defined, it’s time to prep inside the beds. Unlike Kevin’s original setup, the stone garden beds need a different layering approach:
- Grade and smooth the soil inside the beds so water drains away from the house.
- Lay down a high‑quality landscape fabric designed for stone, not thin plastic sheeting.
- Choose your stone: river rock, decorative gravel, or crushed stone all work well depending on the look you want.
For low‑maintenance beds, we usually suggest a washed stone that’s big enough not to migrate easily but small enough to tuck nicely around plants and along the retaining wall.
Step 6: Transition Plants from Mulch to Stone Beds
Kevin and his wife had a mix of vegetables and flowers. Vegetables can still do well in stone‑bordered beds, but we usually recommend:
- Keeping vegetable areas as raised soil beds with stone borders
- Using stone more heavily around perennials, shrubs, and ornamental areas
We carefully dig and replant anything that’s staying, then bring in fresh soil or compost where needed. After that, we pull the fabric back around the plants and install stone around the root zones, keeping a small “donut” of open soil around each stem to let water reach the roots easily.
Step 7: Enjoy a Cleaner, Lower‑Maintenance Backyard
By the time we finish a project like Kevin’s, the transformation is usually dramatic: no more eight‑inch mulch layer swallowing the plants, no more random cinder blocks, no more weeds popping up every time you turn around.
Instead, you get:
- Defined stone garden beds that stay put
- A clean retaining wall edge that separates lawn and garden
- Far fewer weeds and much less yearly maintenance
If you’re “done with mulch” like Kevin and want to turn overgrown beds into clean, stone‑bordered garden spaces with retaining walls, we’d be happy to walk your yard with you and talk through a plan that fits your space and your budget.