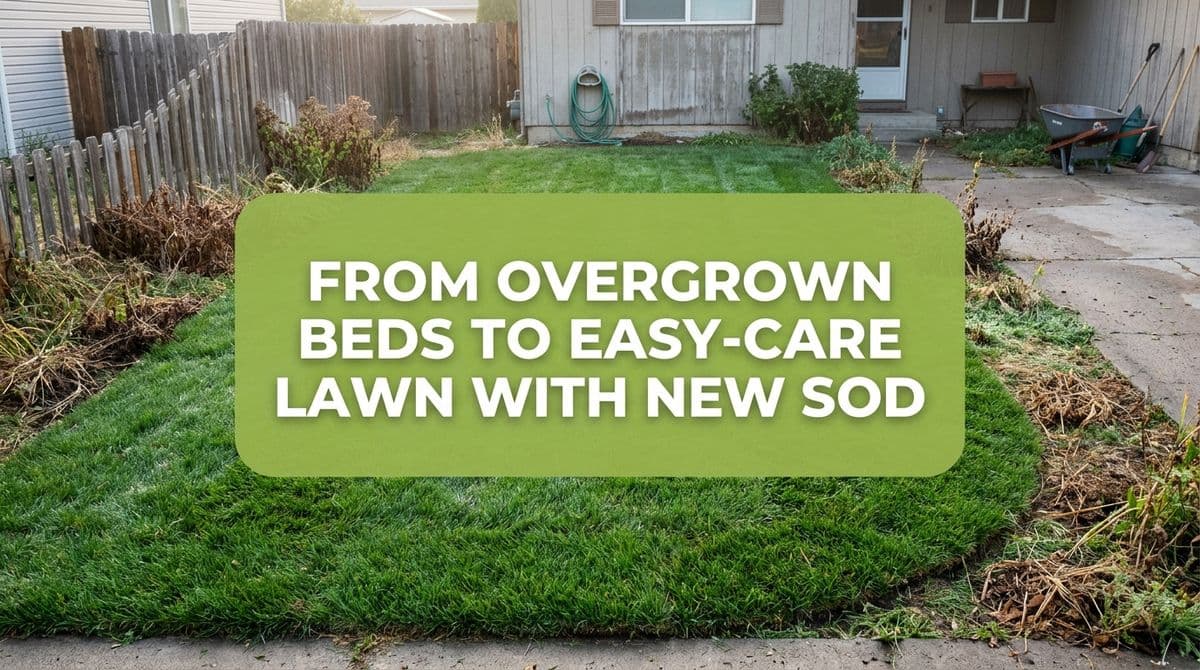
From Overgrown Beds to Easy-Care Lawn with New Sod
Tired of overgrown beds and stubborn weeds? Learn how we safely remove old landscaping and prepare your yard for a fresh, easy-care sod lawn that lasts.
From Overgrown Beds to Easy-Care Lawn: A Real-Life Makeover
We recently got a call from a homeowner — let’s call her Linda — who was completely over her front landscaping. What used to be a pretty bed with a stone border, a maple tree, and a show-stopping hydrangea had turned into a high-maintenance headache.
The hydrangea had died back after a harsh frost, an aggressive groundcover was popping up everywhere no matter how often she pulled it, and the stone edging wrapped around the side of the house with barberries and a burning bush she no longer wanted. On top of that, she’d battled nut grass in the back and was worried that any leftover roots, tubers, or mystery plants would just invade new sod.
Her question to us was simple: “Can you safely rip all this out, haul it away, and get it ready for new sod — without the old problems coming back?”
We walk homeowners through this exact situation all the time, so in this post I’ll share how we approached Linda’s yard and the steps we recommend if you’re thinking about turning old landscape beds into an easy-care lawn.
Step 1: Plan the Project (and Check Utilities)
Before we ever bring in equipment, we start with a walk-through and a plan. With Linda, we looked at:
- Where the existing beds started and stopped
- Which plants she wanted removed (maple, barberries, burning bush, dead hydrangea, mystery groundcover)
- How the loose stone wall and rock edging wrapped around the house
- Where she wanted the new lawn to begin and end
Because we’re digging, we also talk about underground utilities. Linda specifically asked if we call for markouts. That’s a smart question, and one you should always ask any contractor who’s digging or grinding on your property.
Homeowner tip: If you’re doing part of the work yourself, contact your local utility marking service (often “Call Before You Dig” or 811) at least a few days before you plan to start. They’ll come out and mark gas, electric, cable, and more so you don’t accidentally hit a line.
Step 2: Removing Stone, Old Soil, and Mulch
Linda had a loose stone wall — not mortared, just stacked stone. That’s good news, because it can be removed without cutting or grinding. Here’s how we typically handle this stage:
- Remove loose stone and edging: We lift and stack stone for disposal or, if it’s in good shape and the homeowner wants it, set it aside to reuse in another area.
- Strip out old mulch and landscape fabric: Old mulch can harbor weed seeds and roots; fabric beneath it often traps roots and doesn’t stop aggressive growers.
- Haul everything away: Linda specifically asked if we dispose of stone, old soil, and mulch. Yes — for most projects we load and haul debris so you’re not stuck with piles in the driveway.
By the end of this stage, the beds are down to exposed soil and any remaining roots we still need to tackle.
Step 3: Dealing With Aggressive Weeds and Unwanted Plants
Linda’s biggest fear was that the “obnoxious” groundcover in her front bed and the nut grass in her back garden would just come right up through her new sod. That’s a valid concern. Some plants will come back if you simply skim the surface and lay sod over the top.
For problem plants — things that spread by rhizomes, stolons, or tubers — we take extra steps:
- Dig deeper where needed: We’ll excavate a bit more soil (often 3–6 inches) where we see heavy infestations, especially with plants like nut grass or spreading groundcovers.
- Hand-remove large roots and tubers: Machines get the bulk, but we’ll pull obvious root systems by hand.
- Consider a treatment window: In some severe cases, we’ll recommend a short waiting period with targeted weed control before sod goes down.
Homeowner tip: If you’ve been battling a particular weed for years, mention it upfront. The more we know about what you’ve tried (like Linda’s careful tuber-pulling), the better we can plan removal and reduce the chances of it coming back through your new lawn.
Step 4: Grading and Preparing for Sod
Once the old beds are cleared, we don’t jump straight to sod. Healthy sod needs a smooth, well-draining base to root into. For a bed-to-lawn conversion, we typically:
- Rough grade: Even out low and high spots left where plants or stone were removed.
- Amend soil if needed: If the bed soil is very compacted or full of debris, we’ll bring in clean topsoil to blend and create a consistent surface.
- Set the final grade: Your finished grade should sit slightly below sidewalks, driveways, and foundations to avoid water issues and make mowing easier.
- Firm and smooth: We lightly compact the soil and rake it smooth so the sod has good contact and you don’t end up with lumpy patches.
This is also when we double-check slopes so water runs away from your house — not toward it.
Step 5: Laying New Sod (and Protecting Your Investment)
Linda’s end goal was simple: a clean, green, easy-care lawn where those overgrown beds used to be. After prep, we brought in fresh sod and installed it like a new lawn:
- Stagger seams: Sod pieces are laid in a brick-like pattern so the seams don’t line up.
- Tight joints: Pieces are fitted snugly together so edges don’t dry out.
- Roll the sod: A lawn roller ensures good contact between sod and soil, helping roots knit in quickly.
Then we walk homeowners through care instructions, which are crucial for the first few weeks:
- Keep the sod evenly moist (but not swampy) until roots are established.
- Avoid heavy foot traffic until it’s well-rooted.
- Delay the first mowing until the grass is actively growing and can be cut with no “lifting” of the sod.
Questions to Ask Before You Hire a Landscaper
Linda asked a few smart questions that are worth repeating if you’re shopping around for help:
- “Do you remove and dispose of stone, soil, and mulch?” Not every company hauls everything away. Clarify what’s included.
- “Do you put down sod?” Some landscapers only do planting beds, not turf installation.
- “Do you have insurance, and can you show proof?” Always a yes from a reputable contractor.
- “Can you come out for an estimate even if I’m not home?” Many times, we can walk the property and then call or email with details.
With the right prep, you can absolutely go from tired, overgrown beds to a low-maintenance, beautiful lawn — without bringing all your old weed problems along for the ride.
If you’re looking at your front beds and thinking, “I just want this all gone,” you’re not alone. We’re happy to take a look, talk through options, and help you decide whether a fresh lawn is the right next step for your yard.